

Wow I haven't blogged in a while. Between being on vacation last week, filling Etsy orders from when I was gone, trying to add more items to my Etsy shop, and not doing any crafts worth blogging about, my blog has been way too quiet. I have finally had time to put together a couple crafts so I'm back for a while! Also, my Shout Out Sunday is on hold again since it's not really fair to my readers to not get any original content and just get posts to other crafts. Next week the Shout Outs will return!
While trying to come up with a gift idea for my friend's birthday, I thought a Chocolate Gift Basket would be awesome! Who doesn't love chocolate? Usually we get each other cupcake items, but I decided to mix it up and stick with chocolate this time around. I'll post the entire gift basket later, but I'll show you one of the quick crafts I added to the basket.
For one of the items in the gift basket, I knew I had to
make this little Emergency Chocolate sign.
It was super simple to put together and very inexpensive.
Of course I found this idea on Pinterest (pinned to the original source HERE - where you can also buy one if you don't have the time or energy to make your own). This project is simple, cute, and makes a great inexpensive gift and will probably get a good laugh.
Of course I found this idea on Pinterest (pinned to the original source HERE - where you can also buy one if you don't have the time or energy to make your own). This project is simple, cute, and makes a great inexpensive gift and will probably get a good laugh.
For this project you need:
Picture frame with glass (mine is for a 4x6 photo, check that the chocolate bar will fit)
Paint (optional - for the frame) - I used Craft Smart Acrylic Paint Espresso Color
Hershey bar (standard size)
Kraft paper or cute brown scrapbook paper
Printer (or you can use vinyl and apply directly to
glass)
 |
| Remove glass and backing from frame, and use sandpaper before painting |
 |
| Paint your frame. Optional next step to distress your frame if that's the aesthetic you're going for. I wanted a rich chocolate color for the frame so I didn't distress it. |
Print out your sign; I used Photoshop to create this sign
and printed it on kraft paper. Cut sign
to fit paper opening.


Insert chocolate bar.
Just lay it on top of the glass where you want it. You can stick it to the paper, but I wanted
it to be loose so it can actually be eaten. Lay paper with your saying over the chocolate bar (make sure both are right-side-up).

My chocolate bar just fit perfectly in my 4x6 frame, but a little bit of the little end flaps stuck out. You can fuss with it to make sure they are hidden, but after realizing I couldn't put the back on correctly I was frustrated.
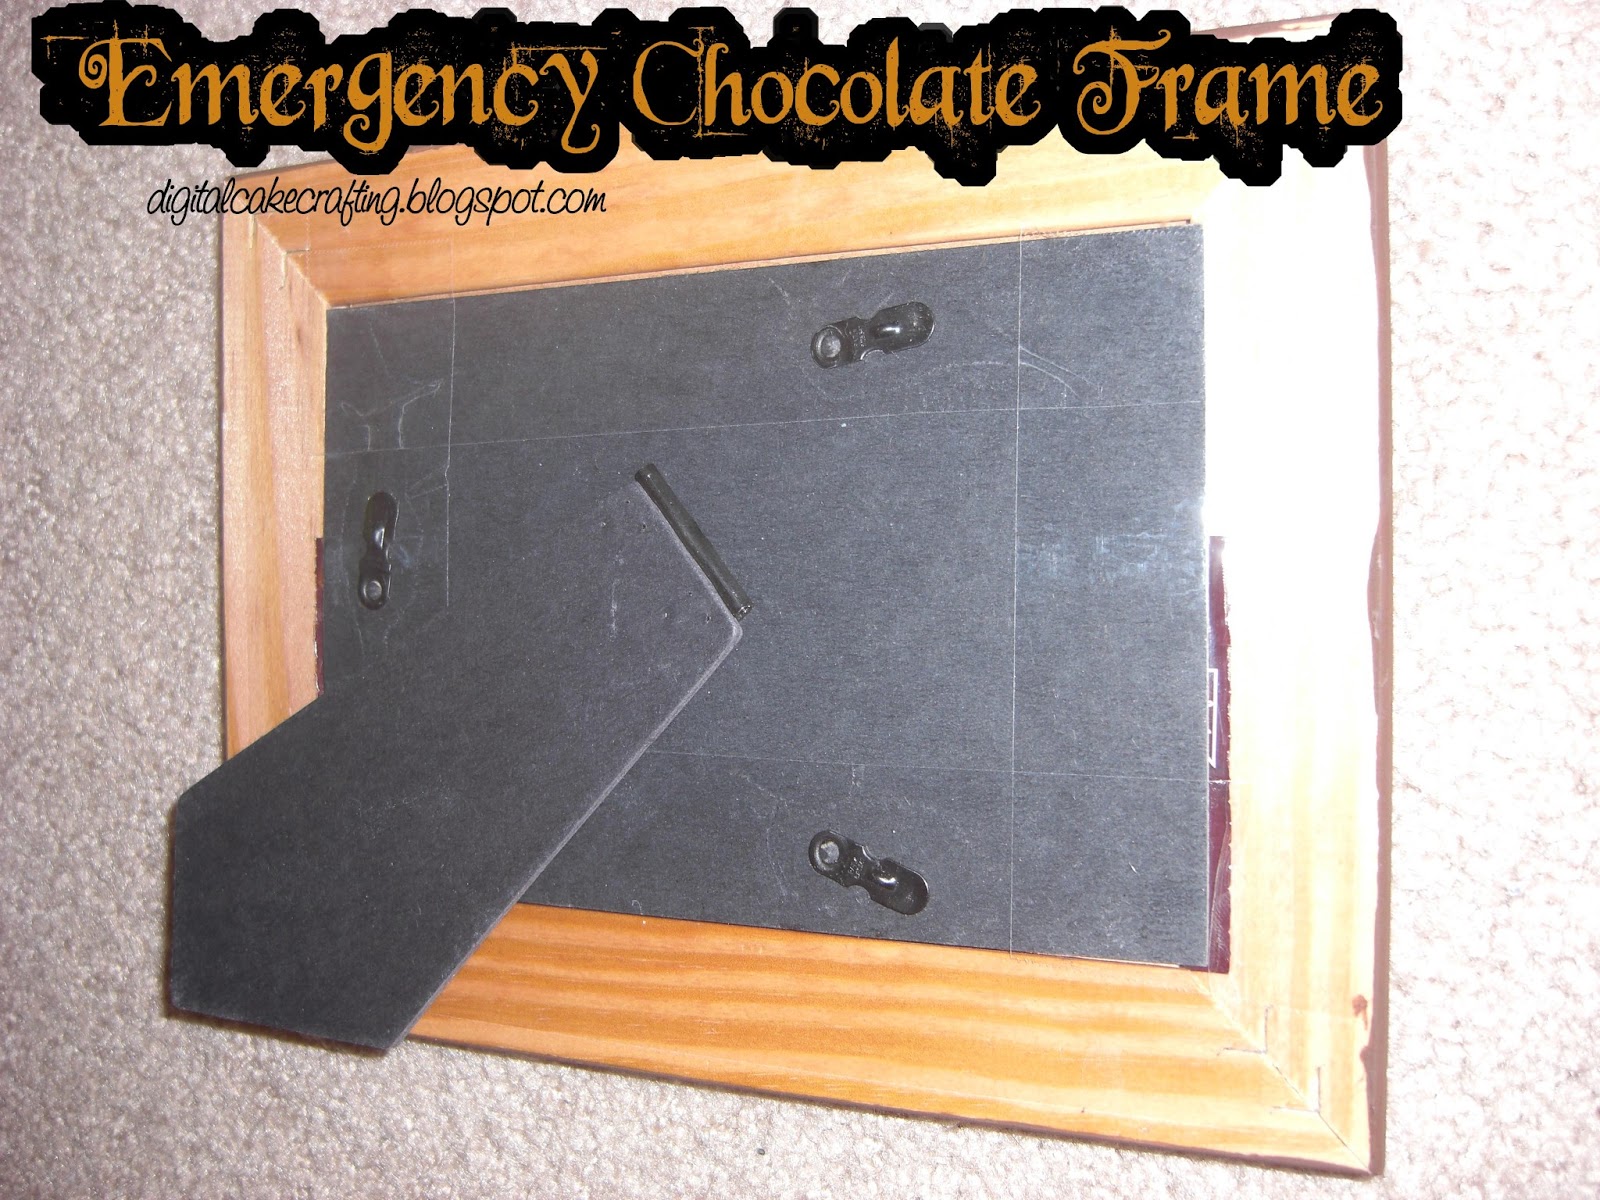
After replacing the back of the frame I realized the chocolate bar was too thick for the frame to close correctly with the clasps. Determined to make this work, I used clear packing tape to seal the entire back of the frame. Not the most beautiful solution, but it worked and nobody will be staring at the back anyway unless they are trying to get the chocolate out. I would suggest instead of using a standard photo frame to use a shadow box so it will close properly.
Super easy, super cute, and inexpensive! Keep your eyes peeled for when I post the rest of the Chocolate Gift Basket!
Super easy, super cute, and inexpensive! Keep your eyes peeled for when I post the rest of the Chocolate Gift Basket!

No comments:
Post a Comment